Home Remodeling Tips | Flooring Series Part 1 | iSpec LLC
If you've been shopping for new floors recently, you've probably heard the term LVP more than a few times. Luxury Vinyl Plank flooring has become one of the most popular choices for homeowners, and honestly, it's easy to see why. It looks great, it's affordable, and it handles water better than almost anything else on the market. But like any building product, it's not perfect for every situation. Let's walk through the pros, the cons, and some installation tips so you can decide if LVP is the right fit for your home.
What Exactly Is LVP?
LVP is a synthetic flooring product made up of multiple layers — a backing layer for stability, a core layer for rigidity, a printed design layer that mimics the look of real wood, and a clear wear layer on top that protects against scratches and stains. Most modern LVP uses a click-lock system, which means the planks snap together without glue or nails and "float" over your existing subfloor. You'll see two main core types on the market: SPC (Stone Polymer Composite), which is denser and more rigid, and WPC (Wood Polymer Composite), which is slightly softer and more comfortable underfoot.
The Pros
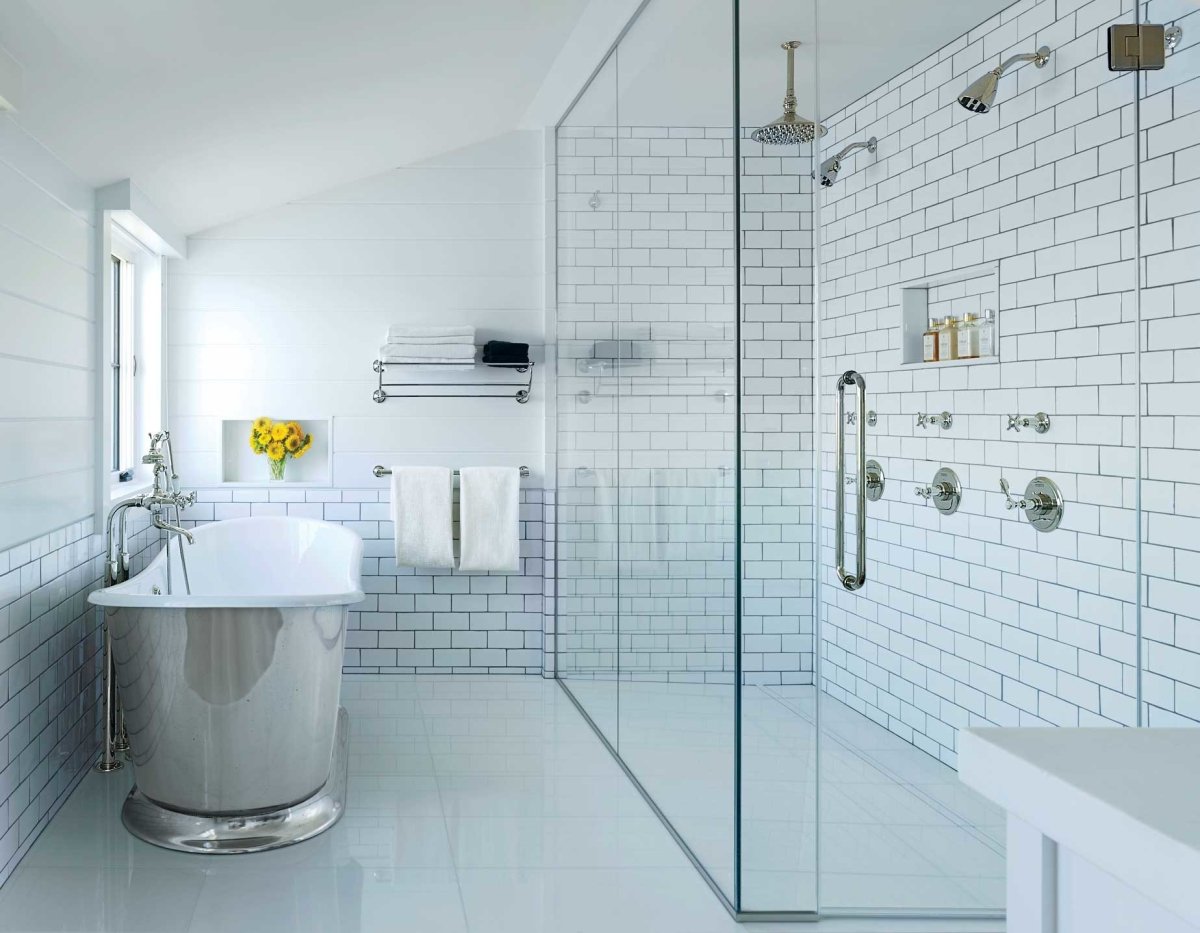
Waterproof performance. This is the big one. LVP is 100% waterproof, making it an excellent choice for kitchens, bathrooms, basements, and laundry rooms — anywhere moisture is a concern. Unlike hardwood, it won't warp or swell if water sits on it.
Affordability. Materials typically run between $2 and $5 per square foot, which is a fraction of what you'd pay for real hardwood or quality porcelain tile. Installation costs are lower too, since the click-lock system is faster to put down than most traditional flooring.
Realistic appearance. Today's LVP has come a long way. The printed design layers and textured surfaces do a convincing job of replicating natural wood grain. From a standing height, many products are genuinely hard to distinguish from the real thing.
Comfort and noise. Compared to tile or hardwood, LVP is softer and warmer underfoot. WPC core products in particular have a slight cushion to them that makes a noticeable difference if you're standing for long periods in a kitchen.
Low maintenance. Sweep it, mop it with a damp cloth, and you're done. No refinishing, no sealing, no special cleaners required.
The Cons
Not repairable like hardwood. If a plank gets damaged — a deep gouge or a dent from heavy furniture — you can't sand it out. You'll need to replace the individual plank, which can be tricky depending on where it sits in the layout.
Susceptible to denting. Heavy appliances, furniture legs without pads, and dropped objects can leave permanent impressions, especially on WPC core products. Use felt pads under furniture and be careful when moving heavy items across the floor.
Fading in direct sunlight. Lower-quality LVP can discolor over time in rooms with large windows or heavy sun exposure. If you're installing in a sunroom or south-facing living room, look for products with a UV-resistant wear layer.
Won't add resale value like real wood. LVP is a great functional choice, but most buyers and appraisers still recognize a difference between vinyl and genuine hardwood when it comes to your home's value.
Environmental concerns. LVP is a petroleum-based product and most of it is not recyclable. Some cheaper products can off-gas volatile organic compounds, so look for brands with low-VOC or FloorScore certification if indoor air quality is important to you.
Tips for Installing LVP
If you're thinking about doing this one yourself, here are a few things we've learned from installing it professionally that will save you a lot of frustration.
Acclimate the product first. Let the unopened boxes sit in the room for at least 48 hours before you start. LVP expands and contracts with temperature changes, and skipping this step is one of the most common causes of gaps and buckling after installation.
Get your subfloor right. This is where most DIY installs go wrong. The subfloor needs to be clean, dry, and level. Any bumps or dips will show through the finished floor. Use a self-leveling compound for low spots and scrape off any old adhesive or debris.
Stagger your end joints. Never line up the seams of adjacent rows. Offset them by at least six inches for a natural, hardwood-like appearance and a structurally stronger floor.
Leave a quarter-inch expansion gap. Keep that gap along every wall, doorframe, and fixed object like islands or columns. Your baseboards or quarter-round trim will hide it. Without that gap, the floor has nowhere to expand in warm weather and you'll end up with buckling.
Use a pull bar on the last row. That final row against the wall is always the hardest. A pull bar lets you click it tightly into place without damaging the plank or dinging up the wall. They cost a few bucks at any hardware store and they're worth every penny.
The Bottom Line
LVP is one of the best all-around flooring values on the market right now. It handles moisture, it looks great, and it won't break your budget. Just make sure you invest in a quality product with a rigid core and a decent wear layer — the cheap stuff looks cheap and won't hold up. And if the project feels bigger than you expected once you get into it, that's completely normal. Give us a call and we'll help you get it across the finish line.
— The iSpec LLC Team
Columbus, Ohio • General Contracting • Remodeling • Renovations